6 Fun Craft Ideas for a 7-Year-Old Girl
Stuck on what to craft with your bubbly 7-year-old? Let’s dive into playful, kid-friendly ideas that spark imagination, are easy to pull off, and look Pinterest-perfect. These crafts are quick, colorful, and totally share-worthy—trust me, she’ll be obsessed.
Each project is a complete, unique idea that stands on its own. No repeats, no variations—just six fresh crafts that scream fun and creativity.
1. Shimmering Rainbow Unicorn Wall Hanging
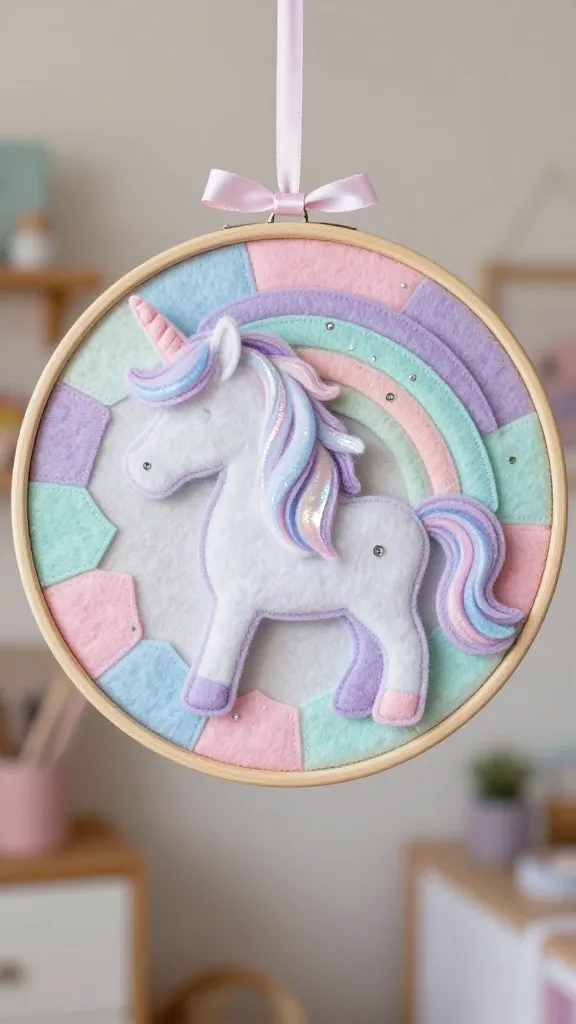
Imagine a magical wall hanging that brightens any room with pastel hues and a touch of sparkle. This unicorn-inspired piece turns hand-dprints and fabric scraps into a whimsical masterpiece she’ll be proud to display.
Materials Needed
- A wooden hoop (8–12 inches)
- Colored felt in pastel shades
- White fleece or faux fur for mane
- Fabric glue or hot glue (adult supervision)
- Ribbon for top hanger
- Sparkle glitter or rhinestones (optional)
How to Make It
- Wrap the hoop with a ribbon and secure ends with glue.
- Cutz of felt into a simple unicorn silhouette—head, ears, and horn—then glue onto the hoop’s bottom edge.
- Layer a fluffy mane using white fleece, tucking pieces along the top and sides. Add pastel ears and a soft horn for extra magic.
- Decorate with glitter or rhinestones if you like a little extra shimmer.
- Hang with a ribbon bow at the top and find a sunny spot to showcase the glow.
Why this is special
- Whimsy meets craft: the unicorn motif is endlessly charming for a young creator.
- Texture play: felt, fleece, and glitter create a tactile, engaging project.
Who will love it?
- Sleeps pals and bedroom decor lovers—this adds a dreamy focal point to any wall.
2. Emerald Leaf String Art Keychains

Turn simple wood shapes into mini masterpieces that she can carry everywhere. This leaf-string art project blends nature-inspired patterns with kid-friendly assembly, making a set of charming keychains or bag charms.
Materials Needed
- Small wood disks or pine shapes
- Strong craft thread in green tones
- Acrylic paint and brushes
- Wood glue or hot glue
- Keychain rings and jump rings
- Protective sealant (optional)
How to Make It
- Paint the wooden shapes in varying shades of green; let dry completely.
- Wrap the edges with string, then create a simple leaf-vein pattern by weaving green thread in a gentle web across the surface.
- Attach a jump ring and the keychain ring to the top of each piece.
- Seal with a light clear coat if you want extra durability.
Why this is special
- Nature-inspired craft that feels calm and creative.
- Portable art—perfect for backpacks or keys, and easy to customize with different string colors.
Who will love it?
- Little organizers who want a cute accessory they can show off.
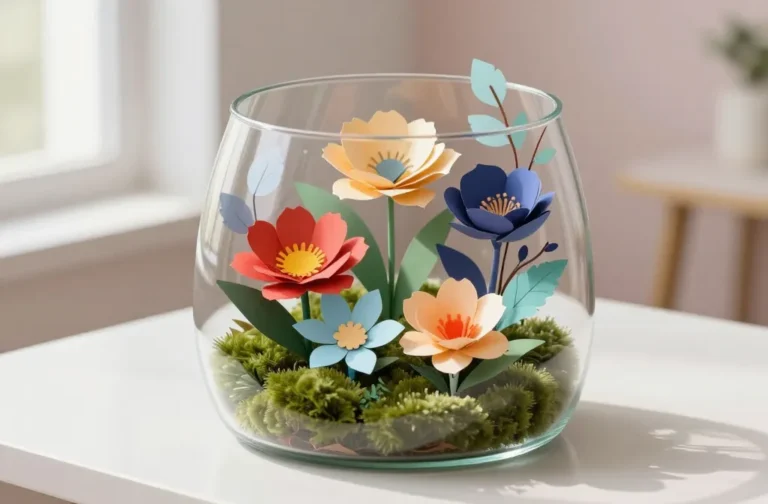
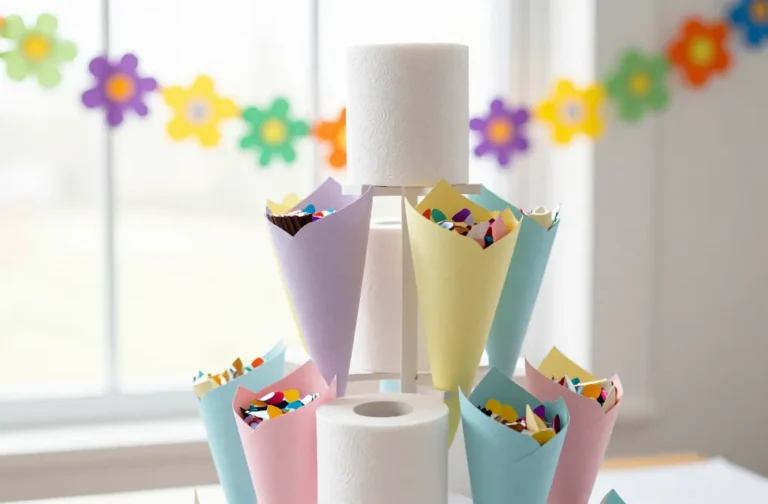
3. DIY Pom-Pom Flower Garden in a Jar
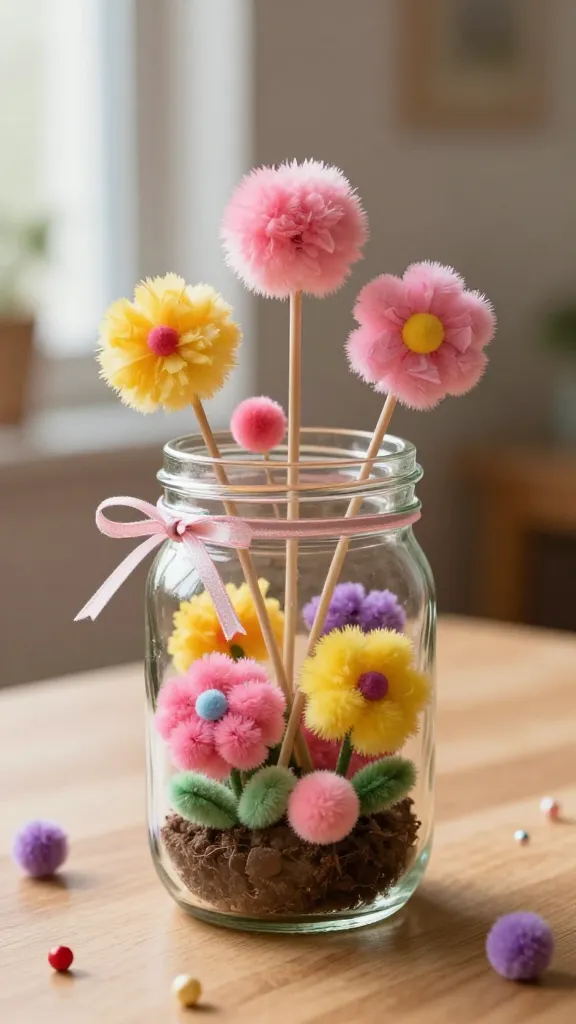
Bright, fluffy pom-poms become a pretend garden inside a glass jar. This project is a playful display piece that doubles as a classroom-friendly gift for a friend or family member.
Materials Needed
- Empty clean mason jar or any clear jar
- Colorful yarn or loose pom-poms
- Colored tissue paper for blooms
- Straws or sticks for stems
- Ribbon, buttons, or beads for accents
- Hot glue or craft glue
How to Make It
- Fill the bottom with a few pom-poms to simulate soil and tiny blooms.
- Arrange tissue-paper flowers by rolling and twisting small sheets, then glue them onto sticks to create stems.
- Insert the stems into the jar, adding yarn “grass” around the base for texture.
- Decorate the rim with ribbon and tiny beads to finish the look.
Why this is special
- Colorful and tangible—kids love arranging a garden they can literally hold.
- Low mess, big payoff—perfect for a cozy rainy-day activity.
Who will love it?
- Birthday party keepsakes and quirky desk decor fans.
4. Vintage Button Collage Portraits
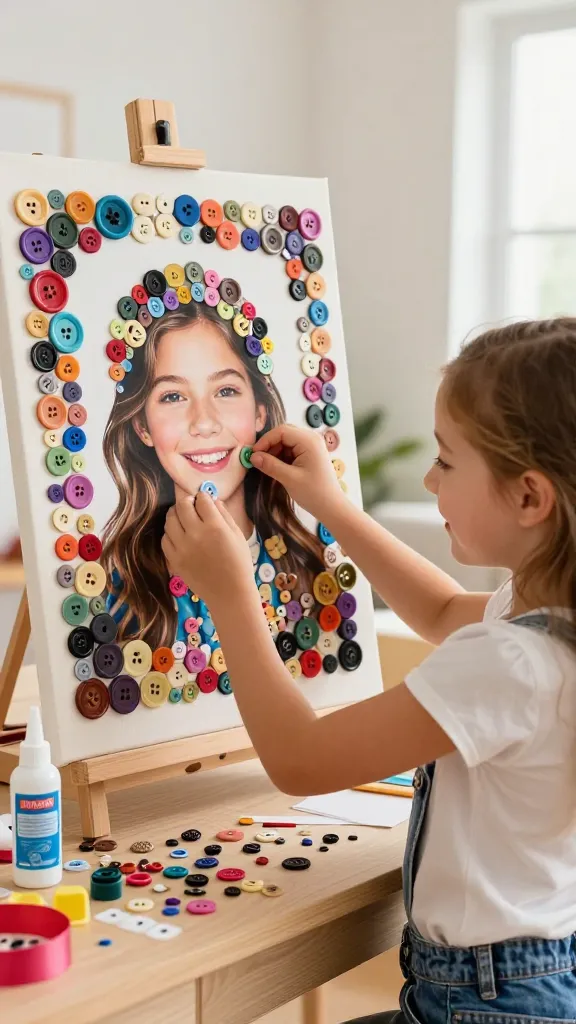
Turn a favorite photo into a collage that’s sprinkled with buttons and tiny trinkets. This keepsake project blends memory-making with tactile crafts, yielding a one-of-a-kind piece to hang or gift.
Materials Needed
- Simple photo print or a favorite school portrait
- Cardstock or a sturdy canvas
- Assorted buttons in bright colors
- Non-toxic glue or glue dots
- Ribbon or frame for finishing
How to Make It
- Mount the photo on cardstock or canvas as the base.
- Arrange buttons around the edges or in a playful abstract pattern to frame the face or subject.
- Glue everything down, letting the colors pop against the background.
- Finish with a light coat of sealant if desired and place in a frame or on a stand.
Why this is special
- Personal and creative—each button placement is a tiny sculpture.
- Great for gifting grandparents or teachers with a custom twist.
Who will love it?
- Young crafters who love showcasing memory-based art.
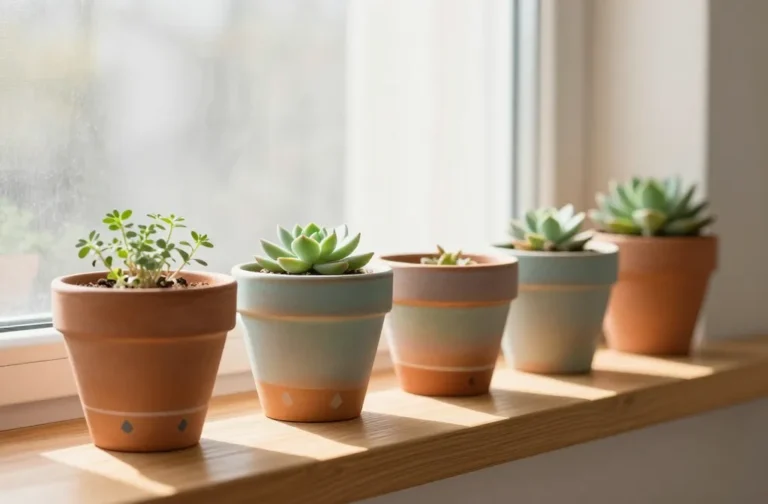
5. Rainbow Salt-Dough Jewelry Bowls
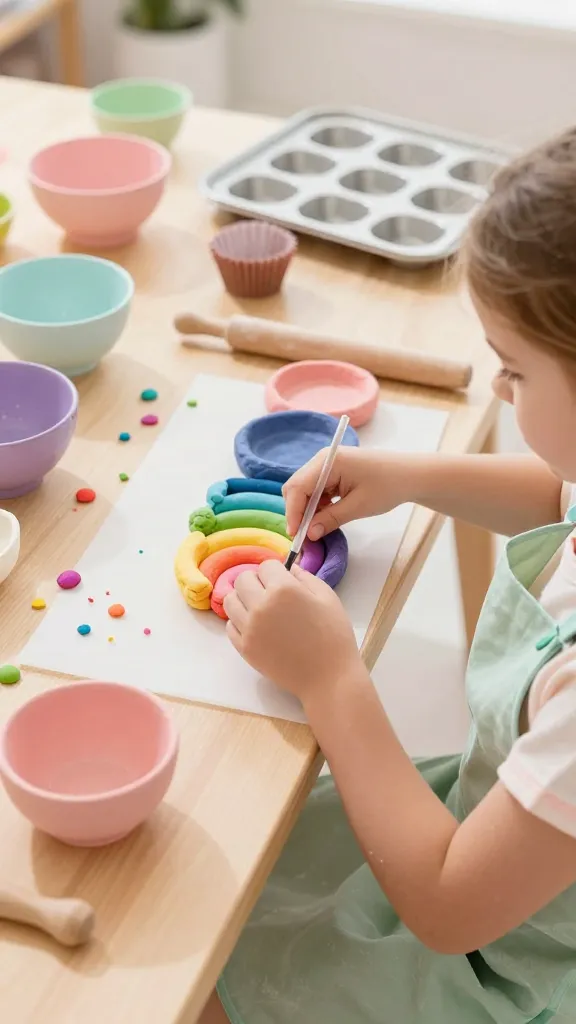
Salt-dough comes alive with color in these mini bowls—perfect for rings, clips, and tiny treasures. This project teaches basic sculpting and baking, all while producing a practical, pretty result.
Materials Needed
- Salt dough mix (or homemade: 2 cups flour, 1 cup salt, 1 cup water)
- Food coloring or acrylic paints
- Nontoxic glaze or clear paint sealant
- Paint brushes
- Small bowls or muffin tins for shaping
How to Make It
- Knead dough until smooth, then tint with colors—range of rainbow hues works great.
- Press dough into small bowls and bake at a low temperature until hard and dry.
- Paint the bowls with glossy colors and seal with a protective layer.
- Use as a sparkly catch-all for rings, clips, or tiny trinkets.
Why this is special
- Hands-on sculpting with a sweet payoff—functional art she can admire daily.
- Customizable colors and sizes for a matching set.
Who will love it?
- Gift-givers and jewelry lovers who adore cute, practical decor.
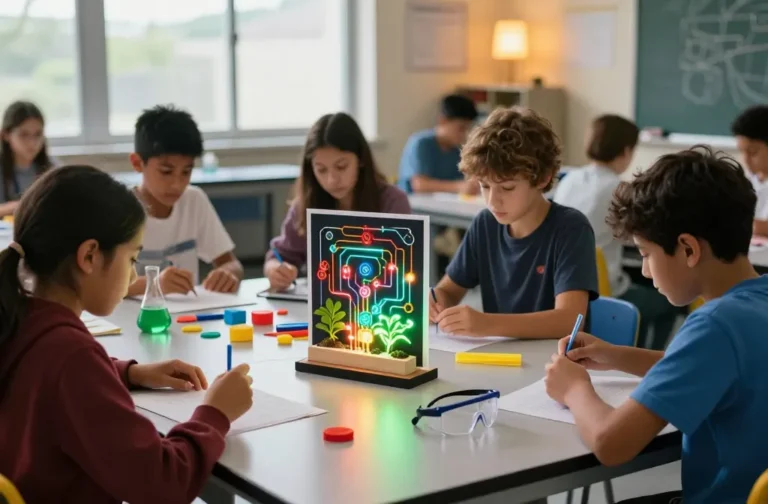
6. Glow-in-the-Dark Constellation Jars
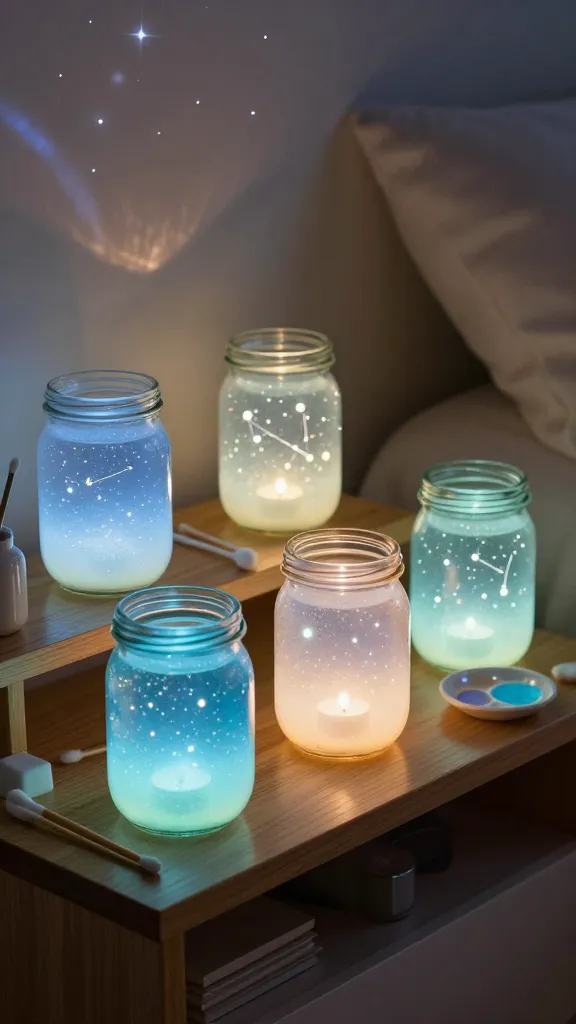
Turn ordinary jars into a starry night sky you can hold. This glow-in-the-dark craft looks magical on a shelf or bedside table, and it glows with a soft lullaby of light after dusk.
Materials Needed
- Glass jars with lids
- Glitter, glow-in-the-dark paint, or luminous beads
- Fine brushes or cotton swabs
- White acrylic paint or chalk paint for the background
- Battery-operated LED tea lights (optional)
How to Make It
- Paint the inside of the jar with white or pale blue to mimic a night sky; let dry.
- Sprinkle glitter inside or apply glow paint in constellations—little dots and lines to connect stars.
- Place a mini LED light at the bottom if you want visible glow even in daylight, or rely on the glow for nighttime magic.
- Seal with the lid or leave open for easy access to the glow.
Why this is special
- Instant ambiance booster—soft, dreamy light that’s calming and magical.
- Easily adjustable for different star patterns or favorite constellations.
Who will love it?
- Nightlight seekers and space-loving kiddos who adore a cozy glow.
Conclusion
These six completely unique and distinct craft ideas offer a kid-friendly mix of whimsy, texture, and practical fun. Each project is crafted to be achievable, visually appealing, and highly shareable—perfect for saving, pinning, and inspiring future crafting sessions. Pick one to start, or dive into all six for a full weekend of creative play. You’ll love how easy it is to spark imagination and create bright, joyful keepsakes together.