7 Fun Crafts for an 8-Year-Old Girl to Make
Ready for a weekend of giggles, glitter, and super cute creations? These seven crafts are perfectly sized for an eight-year-old’s hands, imagination, and curiosity. Each one is unique, colorful, and totally doable with a sprinkle of encouragement. Let’s dive in and get crafting!
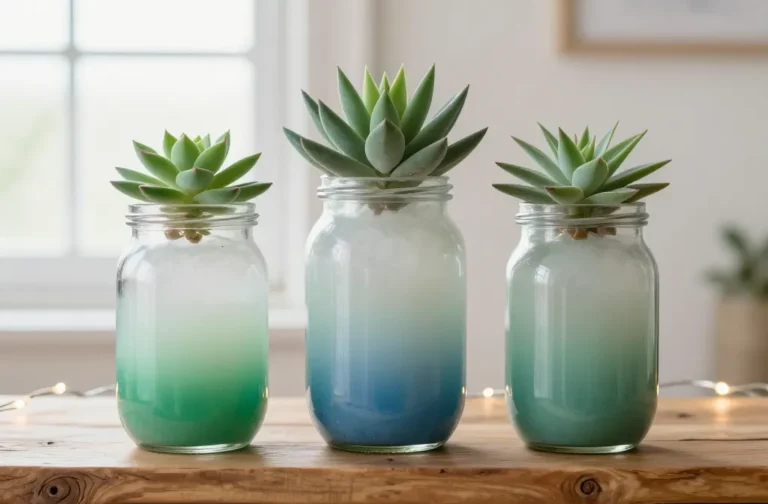
1. Bubble-Scape Watercolor Jar Lanterns
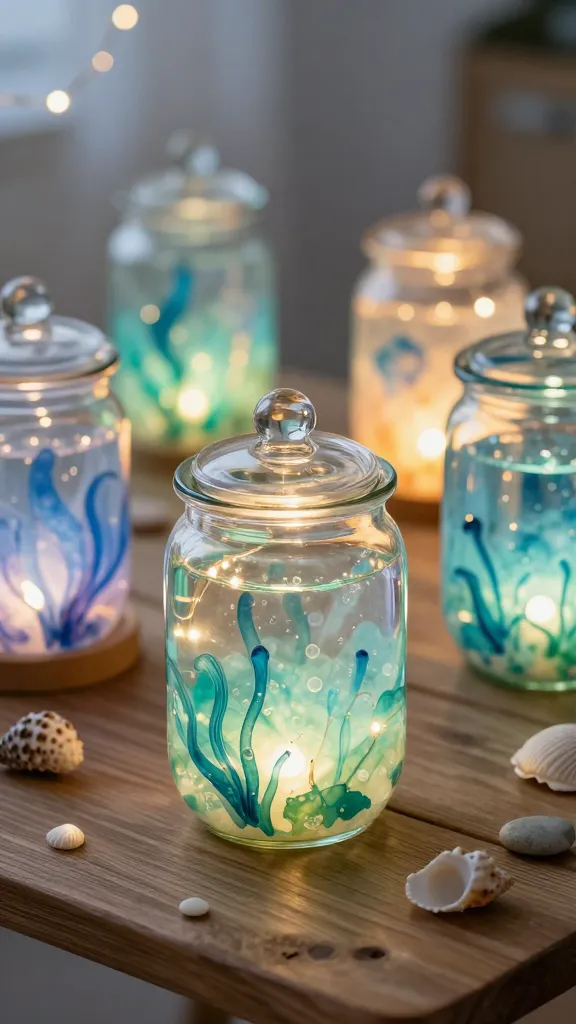
Imagine glowing glass jars that look like tiny underwater scenes, lit from within by fairy lights. These Bubble-Scape Lanterns turn simple supplies into a magical night-light that doubles as decor for desk corners or bedtime reading nooks. The gradient colors and bubbly textures feel whimsical and totally Pinterest-worthy.
Materials Needed
- Clear glass jars with lids
- Watercolor paints (blue, teal, green)
- Liquid glue or Mod Podge
- Shaving cream (optional for marbling)
- Small LED string lights
- Fine glitter (optional)
- Painter’s tape
How to Make It
- Fill a shallow tray with a layer of shaving cream. Add drops of watercolor paint and swirl gently to create a marbled pool.
- Dip the jar into the marbled foam, then press and lift to transfer the pattern. Repeat with different colors for layered depth.
- Let the jars dry, then seal with a light coat of Mod Podge to keep colors vibrant. Tuck in a string of fairy lights for a twinkling glow.
- Drop a few specks of glitter on the lid or the outside for extra sparkle.
Pro Tips / Styling Ideas
- Place one on a bedside table, another on a study desk, and a third on a windowsill for a rainbow glow.
- Switch colors with seasons — icy blues for winter, sunset hues for summer.
End Note
This craft is perfect for glow-in-the-dark movie nights or cozy reading corners. A little glitter goes a long way, and you’ll love the dreamy glow when the lights go out.
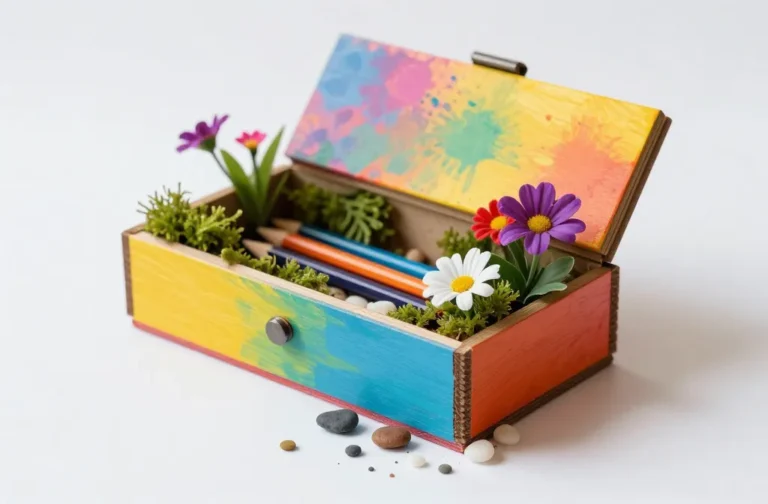
2. DIY Gem-Tile Journal Covers
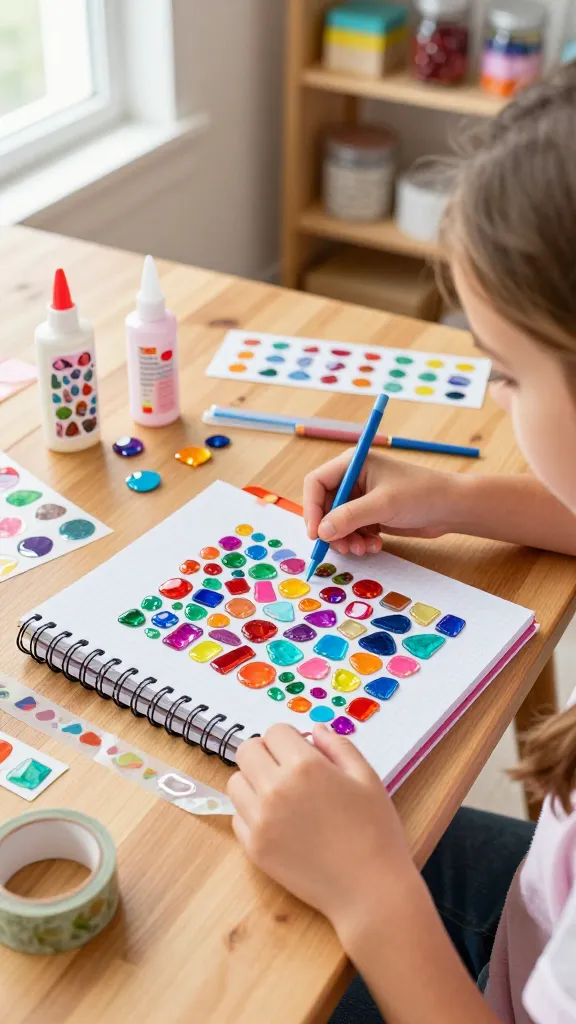
Bright, chunky, and totally personalized, Gem-Tile Journal Covers turn a plain notebook into a treasure chest of creativity. Colorful resin-like tiles (or foam shapes) arranged into patterns feel like a tiny mosaic masterpiece you can flip open every day. Practical, with instant WOW factor.
Materials Needed
- Plain spiral notebooks or journals
- Foam mosaic tiles or gemstone stickers
- Craft glue or school glue
- Clear contact paper or laminate sheets
- Ribbon or washi tape (optional)
How to Make It
- Lay out a pattern on the notebook cover using the tiles—think pentagons, spirals, or a simple rainbow arc.
- Glue each tile or sticker in place, pressing firmly.
- Cut a piece of clear contact paper slightly larger than the cover and seal it over the tiles to protect them.
- Wrap a ribbon along the spine or add a border with washi tape for an extra pop.
Pro Tips / Styling Ideas
- Switch up the tiles once a month to reflect new interests or seasons.
- Make a matching pencil pouch by applying the same tile design to a fabric rectangle with fabric glue.
End Note
Gift this to a best friend or keep it for yourself as a daily-inspired canvas. It’s a chic project that doubles as a steady confidence booster when you jot in it every day.
3. Mini Terrarium in a Teacup
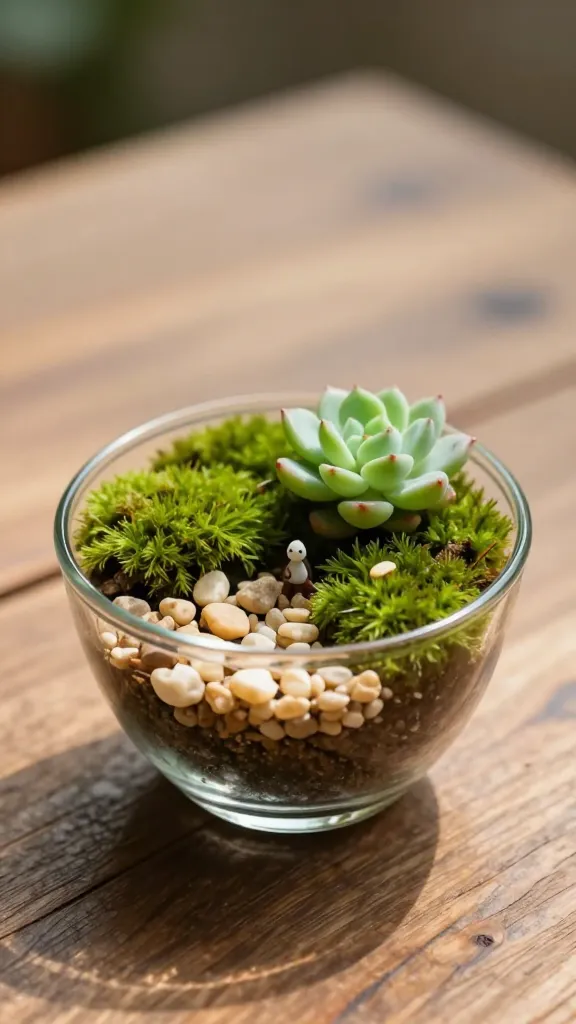
Delightfully dainty and perfectly whimsical, a Mini Terrarium in a Teacup blends nature and whimsy in a portable, cute display. A little moss, a tiny figurine, and a splash of pebble texture create a micro-scene that’s endlessly charming.
Materials Needed
- Small decorative teacups or glass jars
- Fine gravel or pebbles
- Moist sphagnum moss
- Succulent cuttings or tiny decorative figurines
- Water spray bottle
How to Make It
- Put a thin layer of pebbles in the bottom of the teacup for drainage.
- Add a pinch of moss, then place a small succulent or figurine in the center.
- Top with a little more moss and lightly mist with water. Don’t overwater!
Pro Tips / Styling Ideas
- Group three teacup terrariums on a windowsill for a mini forest vibe.
- Add tiny faux mushrooms or seashells for a fairy-tresh-inspired scene.
End Note
This project is a gorgeous desk companion or a sweet gift for a grandparent who loves miniatures. It’s calm, creative, and seriously adorable.
4. Felt Planet Orbits Wall Clock
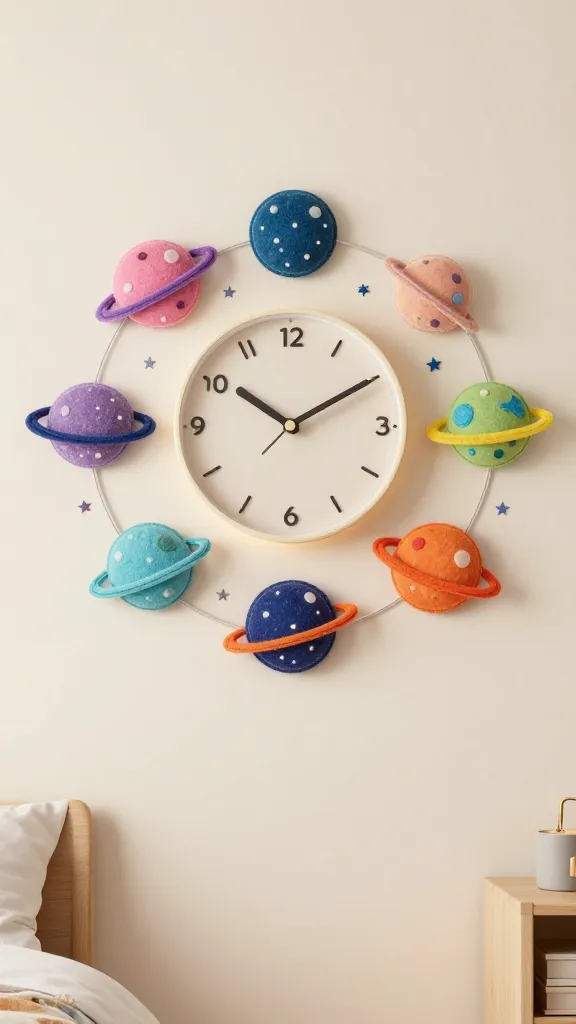
Time flies when you’re crafting, especially with a Felt Planet Orbits Wall Clock orbiting your wall. Create a playful, educational display with felt planets looping around a clock face. It’s bold, tactile, and a stellar conversation piece for bedrooms or playrooms.
Materials Needed
- Plain circular clock kit (with hands)
- Assorted felt in galaxy colors
- Needle and thread or fabric glue
- Felt or foam star stickers
- Hot glue gun (adult supervision)
How to Make It
- Attach the clock face to a sturdy base or canvas if you want a wall-mounted piece.
- Cut felt circles for the planets and string them with a light thread around the clock, placing them by approximate orbital distances.
- Glue or sew stars and add a few tiny moons for extra texture.
Pro Tips / Styling Ideas
- Label each planet with a cute, kid-friendly fact on the back for learning-on-the-go.
- Pair with a space-themed nightlight for stellar ambiance.
End Note
Love space, color, and hands-on fun? This clock turns a time-telling project into an interstellar adventure you’ll proudly show off.
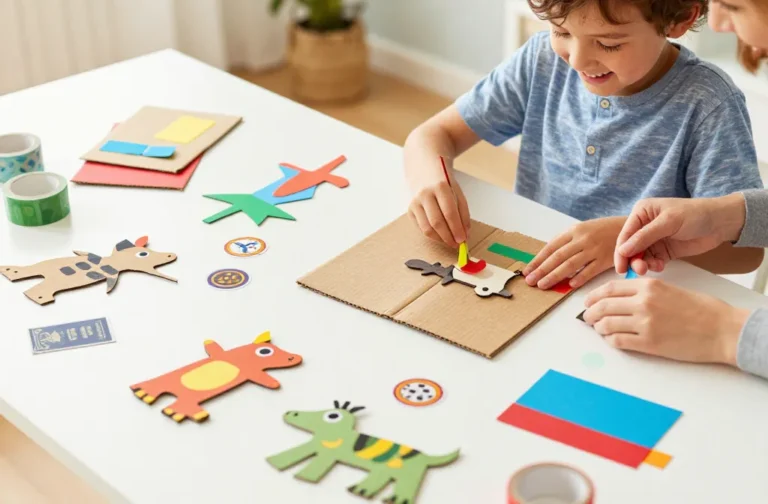
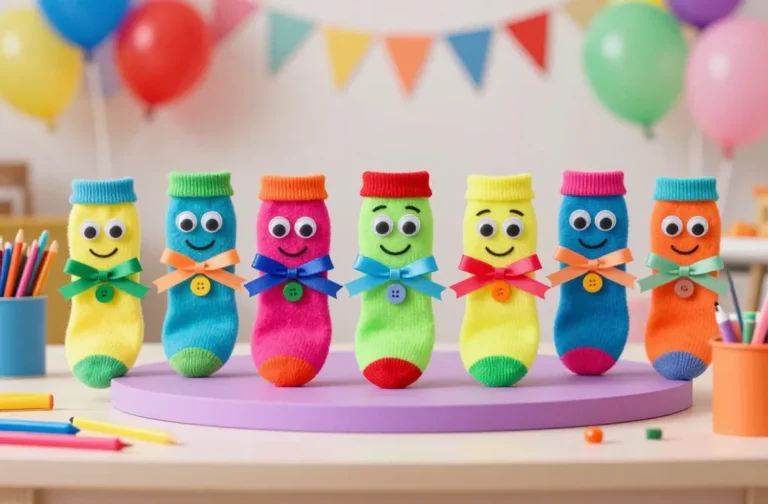
5. Scented Sock-Puppet Garden
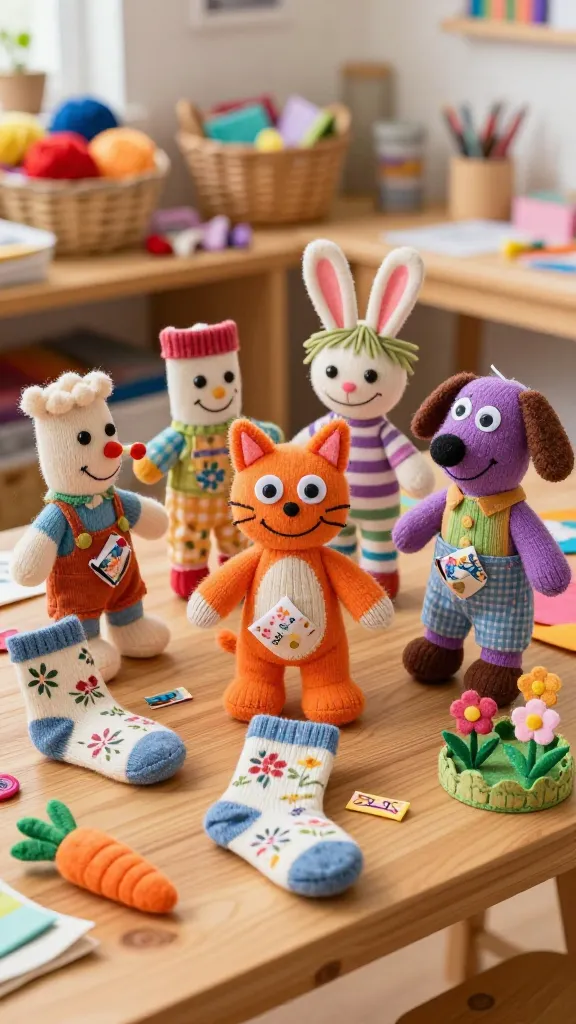
Fresh, fluffy, and full of personality, the Scented Sock-Puppet Garden brings animals, plants, and a little sprinkle of DIY theater into one playful project. It’s a goofy, giggle-worthy activity that yields a cuddly troupe you can put on a puppet show for family and friends.
Materials Needed
- Old socks (bright colors recommended)
- Needle and thread or fabric glue
- Googly eyes, yarn for hair, buttons
- Fabric scraps for clothes
- Floral ribbon or faux herbs for “plants”
- Scented sachets or essential oils (tiny amount)
How to Make It
- Turn a sock into a groovy creature with buttons for eyes and yarn hair.
- Stitch or glue on the felt ears, mouth, and a tiny fabric nose for character.
- Fill with a few sprigs of faux herbs or scented sachets to give a garden vibe—and a little fragrance!
Pro Tips / Styling Ideas
- Host a mini puppet show for family night, using the garden friends as characters.
- Make a small “garden” backdrop with painted cardboard to stage the show.
End Note
It’s goofy, crafty, and surprisingly cuddly. Your eight-year-old will adore bringing these pals to life and putting on a show that smells delightfully fresh.
6. Rainbow Button Canvas Bookmark Collage
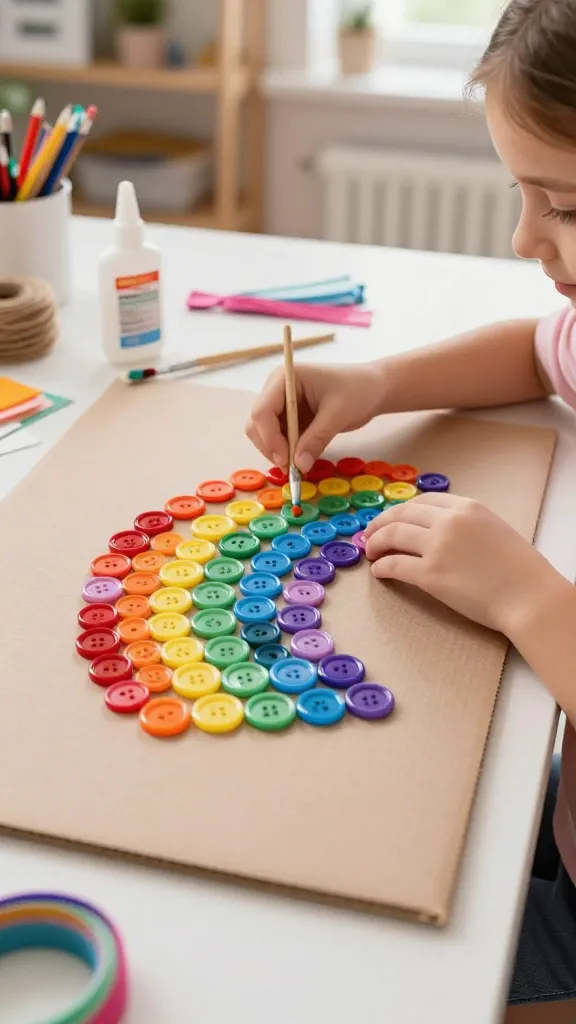
Color, texture, and a dash of DIY heroism collide in this Rainbow Button Canvas Bookmark Collage. It’s a practical yet pretty keepsake that makes re-reading feel like a treasure hunt. A perfect pocket-sized project for book lovers and art lovers alike.
Materials Needed
- Stretch canvas or thick cardboard
- Assorted colorful buttons
- Fabric glue or hot glue
- Ribbon or twine for a tassel
- PVA glue and a small brush
How to Make It
- Arrange buttons in a rainbow arc on the canvas, then glue them down in neat rows or a wavy pattern.
- Seal the surface with a thin layer of glue mixed with water to reduce stiffness.
- Attach a tassel made from ribbon at the top for a bookmark-friendly finish.
Pro Tips / Styling Ideas
- Switch colors to match favorite books or a seasonal palette.
- Laminate the top edge for extra durability if you’re using it as a bookmark in a glossy-covered notebook.
End Note
Super cute and incredibly functional, this bookmark collage is a bright reminder that art can be practical and adorable at the same time.
7. Soap Crayons: Washable Color Blocks
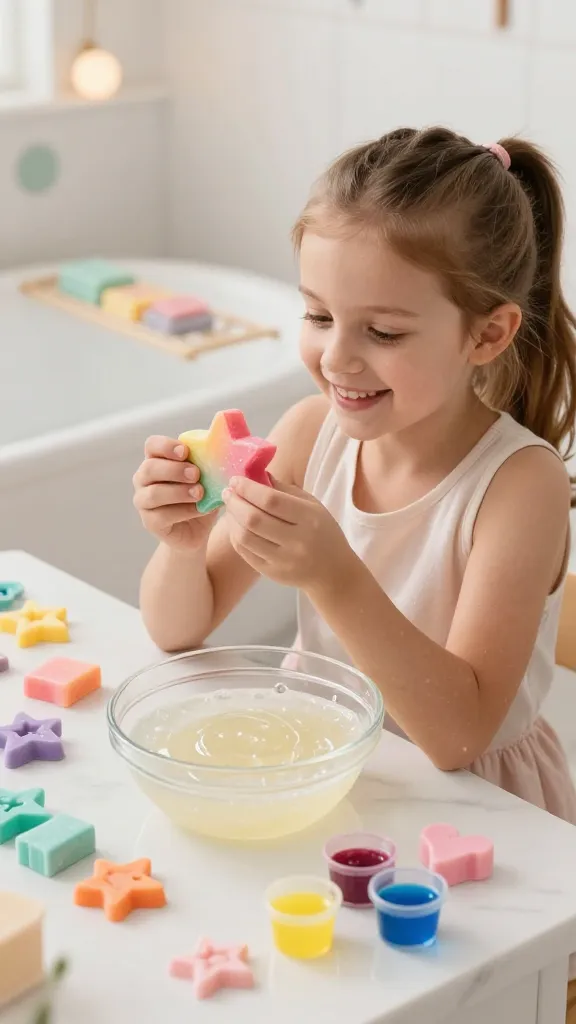
Bright, chunky, melt-in-your-mouth fun without the mess is what you get with Soap Crayons. These color blocks are perfect for playful drawing in the tub, on a soap-drying rack, or for a bath-time art party with friends. A totally unique twist on painting that’s practical, too.
Materials Needed
- Liquid glycerin soap base
- Soap-safe colorants or crayons
- Soap molds (fun shapes like stars, hearts, animals)
- Rubbing alcohol in a spray bottle (to pop bubbles)
How to Make It
- Cube the soap base and melt in a microwave or double boiler until liquid.
- Stir in colorants, then pour into molds and let set.
- Pop out and layer different colors for a candy-like effect, then let dry completely.
Pro Tips / Styling Ideas
- Layer two or three colors in each mold for a zebra-print or rainbow block effect.
- Gift a set of soap crayons with a tiny scrubber sponge for a cute bath-time kit.
End Note
These playful blocks wash away easily and encourage creative, mess-free art time in the tub — pure joy for a kid who loves color and bath-time adventures.
Conclusion
These seven crafts are all about bright colors, easy steps, and plenty of imagination. Pick one to start, or dive into all seven for a weekend full of DIY delight. Trust me, your eight-year-old will be buzzing with pride, and you’ll be smiling at the buzz of creativity echoing through the house. Have fun, and happy crafting!