11 How To Make Paper Crafts For Kids
11 How To Make Paper Crafts For Kids
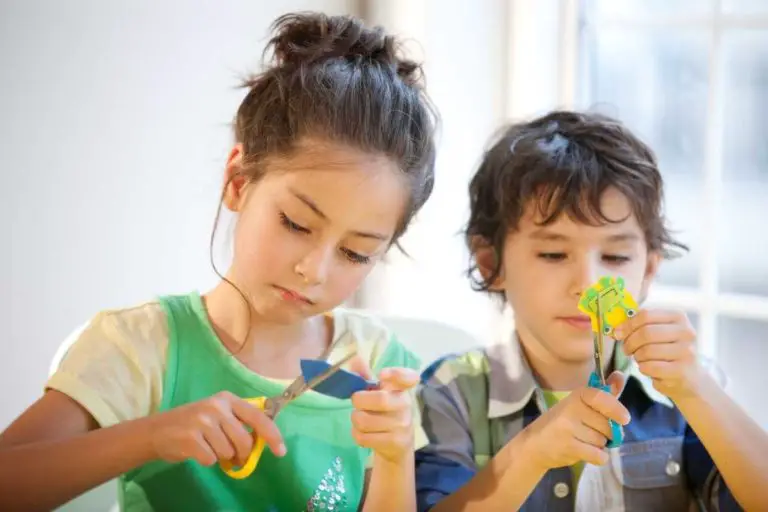
You’re probably familiar with origami, but did you know that paper crafts go far beyond traditional Japanese art?
Paper can be used for all sorts of crafts and decorations, from making paper flowers to decorating your home with paper lanterns. In this article, we will teach you how to make 11 different paper crafts for kids.
This is an exciting project for children because they’ll get to use their imagination and create something new from scratch!
1. Paper Plate Snail
What you need.
- 2 paper plates
- 1 sheet of craft foam
- Paint or markers for decorating your snail’s body (black, brown, green, and blue will work great)
- Glue stick for gluing the eyes onto the head of the snail.
- How to assemble.
Take one paper plate and color it black with a marker or paint so that it looks like a shell. The other one can be left plain white or colored in with any colors you would like!
Now take a small piece of glue stick and apply some glue onto the edge of each side of both plates before you join them together using tape so that there is no overlap when they are joined together later on!
Make sure there is enough space between these two pieces though because we need room later on where we can put our antennae down into place without them getting stuck inside each other – Remember this because if not done properly then they won’t look right when finished off later )
The next step is taking some craft foam which we’re going to cut out into two equal-sized pieces both about 5cm long by 1cm wide (or as close as possible). Then glue these down onto either side just above where we’ve just attached our snail face onto our shell already (make sure there isn’t any overlap between these two pieces either).
This is going t be how we attach our antennae down below onto our shell next so make sure everything lines up properly here before moving forward ) Now for decoration! You can add whatever designs/decorations etc., but here are some ideas.
2. Paper Fortune Teller
Materials needed.
- Paper
- Scissors
- Tape
- Pencil (not necessary)
3. Egg Carton Magnets
Now that you have your egg carton ready, let’s make some magnets. This is a very easy craft and it’s great for recycling materials that you already have at home.
First, line the bottom of each cup with aluminum foil. Then use your glue stick to place some paper over them and press down firmly so it sticks to the bottom of the cup. Leave your egg carton overnight for drying purposes!
You can also paint them if you prefer but I chose not to because my kid loves eating eggs and I don’t want him getting sick in any way from using this craft XD
The next day we were ready to make our magnets out of cardboard boxes! We cut out pieces as shown above then glued them together using more glue sticks (or Mod Podge). After that step was complete we had cute little egg carton magnets which were perfect for sticking notes onto refrigerators )
4. Recycled Jabara Top Hats
Materials.
- a jar
- a lid for the jar (or cardboard)
- a pen, pencil, or marker
scissors, glue stick, ruler, and pencil sharpener if you have them available. You can also use pre-cut paper shapes to make your hat easier.
5. Button Flower Heart Card
How To Make A Button Flower Heart Card
- Materials:
- Tissue paper in any color you like
- Buttons of different shapes and sizes (the more, the better)
- Scissors and glue
6. Colorful Craft Stick Rainbow Magnet
Materials needed.
- Paper Plates
- Magnet Tape
- Scissors
- Colored Tissue Paper (1 color per craft stick)
- Glue Stick or School Glue
- Steps to make the craft
Cut a piece of magnet tape and place it on top of one paper plate. Cut out a shape with colored tissue paper that will fit inside this opening, then glue it down so that it sticks to both sides of the magnet tape and no edges show through.
Repeat this step for all 4 plates, making sure that your shapes vary in size and design so each plate looks different from its neighbor! For example, one could have an abstract pattern while another has a flower shape; after all, nature comes in all shapes and sizes!
Be creative!
Once you’ve glued all four plates together on top of each other, cut out some fringe around each edge using scissors—this gives your masterpiece more dimensionality (and makes it look more like rainbows!). To finish things off in style, add some glitter glue along with some sparkles here and there everywhere.”
7. Paper Mummy Pumpkins
You can also make a paper pumpkin using paper mache.
This is a great project to do with children because they can be so creative and use their imagination to design the pumpkin. It’s easier than you think, too!
All you need to do is cover the pumpkin with newspaper and then cover it again with thin strips of white paper mache. Once dry, decorate away!
8. Cute Cat in a Bag Paper Craft for Kids
This craft is really easy to make. You will need a paper bag, marker, and yarn for the tail, a ribbon for the bow, and a piece of paper for the nose and ears.
First, cut out an oval from the paper bag. The mouth should be flat with two holes in it. Then draw two eyes onto the face of it. Next, take your ribbon and cut it into two pieces about 3 inches long each then ties them together at one end so that they form loops on either side of your cat’s head-like ears (see photo above).
Now glue these onto your cat’s head above its eyes by sticking them through those holes we made earlier in!
Now all you need to do is add a tail using some yarn glued on at one end but make sure it’s not too long or else it might get tangled up with itself if left loose inside!
Finally, finish off by adding some whiskers using another piece cut into thin strips which can also be stuck down over top where we put those “ears” just now – this will help give him more character when viewed from different angles since he won’t always look directly up towards whoever is looking at him!
9. Heart Fox Craft for Kids (Valentine’s Day)
Materials needed.
- A piece of paper (5 inches by 5 inches) in any color you like.
- Pencil for drawing the heart shape and for coloring it later on.
How to make it.
Draw an outline of a heart using a pencil on your piece of paper. Make sure that the size is 2½ inches in width and 1½ inches in height so that you can fit two smaller hearts inside one big one! You can also draw any other shape with two or more parts if you want something different, like a star or circle with five points instead!
Color inside the lines using crayons/pencils/paints etc., whatever’s available at home! When done, cut your artwork into two pieces by trimming off half an inch from each side so that they’ll fit back together again like puzzle pieces when joined together…
10. Paper Jack-o-Lanterns Halloween Craft for Kids
Materials.
- Paper.
- Glue.
- Scissors.
- Marker.
Making paper jack-o-lanterns is a fun and easy Halloween craft for kids. All you need is some construction paper, scissors, and glue.
First, cut out a pumpkin shape from the construction paper. Then, cut out eyes, a nose, and a mouth from the paper. Glue these onto the pumpkin shape.
Finally, cut out a stem and glue it onto the top of the pumpkin. Your paper jack-o-lantern is now complete!
11. No Glue Mini Notebook from One Piece of Paper – Easy and Adorable!
This is an easy project that only takes about five minutes to make, but your kids will love it.
Materials.
- A piece of paper that is at least 1 inch longer than the width of your notebook (the bigger, the better)
Instructions.
Fold the paper in half diagonally, then unfold it. The fold should be along one side and not too close to the edge of your paper. If there are any loose edges sticking out, trim them off with scissors or a knife as needed so they’re no longer hanging over anything else when you unfold everything again later on in this step!
Fold back up exactly how you started out—with just one end being folded down instead of both sides being folded up towards each other as we did earlier on this page—then open up those flaps again so they lie flat against one another once more (this time going from side-to-side instead).
Intended Cover
Next, we need to cut through both layers at once so our notebook will fit perfectly inside its intended cover; just make sure not too much gets cut away because then nothing would fit inside after all!
Make sure there aren’t any gaps between either edge before proceeding further down below where we were last working together before stopping momentarily while moving on to working with these two ends separately instead by themselves without touching each other anymore until later when everything has been completed already here today according.
There Are Many Crafts To Make With Paper That Is Very Fun!
There are many crafts to make with paper that are very fun! Paper is a great material for crafts because it’s cheap and easy to find.
You can also recycle it if you want to be environmentally friendly!
Paper crafts are great because they give you the opportunity to use up scraps of paper instead of throwing them away, and if you have leftover bits of paper lying around your house, this will be a good way for them not go unused anymore.
Conclusion
We hope this list will help you to complete your project. We’re sure you will like these ideas, they are very easy and fun! If you have any questions or comments, please feel free to contact us at any time by email or social media.