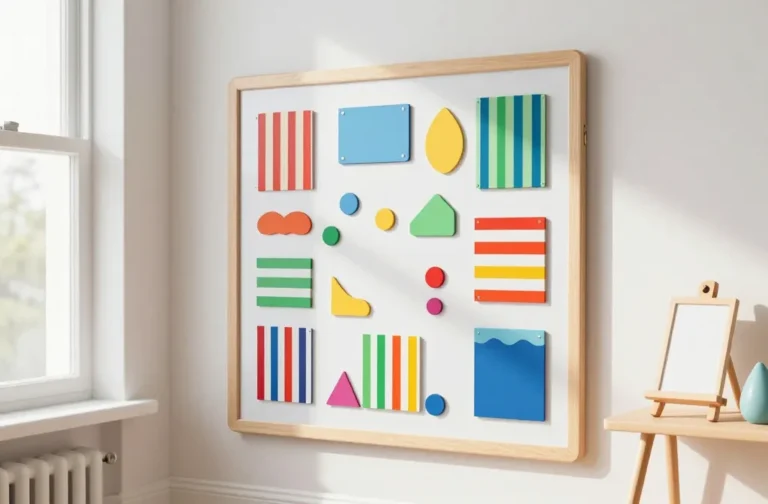
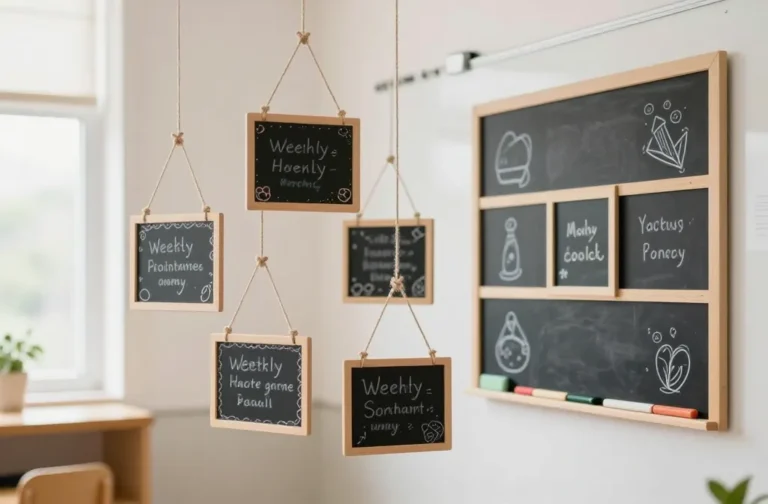
6 Craft for 3rd Graders
Aussie your apron, grab a glue stick, and get ready to make some mini masterpieces. 6 Craft for 3rd Graders is the sweet spot where kids still love glitter but are starting to demand real results. You’ll see them trade in flimsy papier-maste for sturdy, brag-worthy projects. FYI, these crafts are perfect for a cozy classroom day or a weekend at home when the internet is pretending to be boring. Let’s dive in and keep the mess manageable—because a great craft should feel like a win, not a cleanup nightmare.
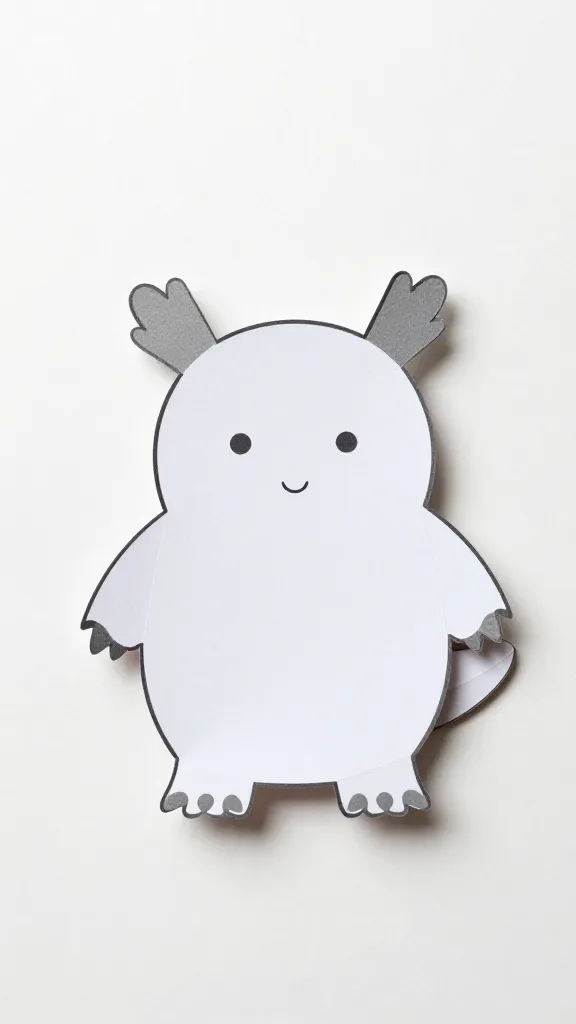
1. Paper Pop-Up Cards: Tiny Stories You Can Fold
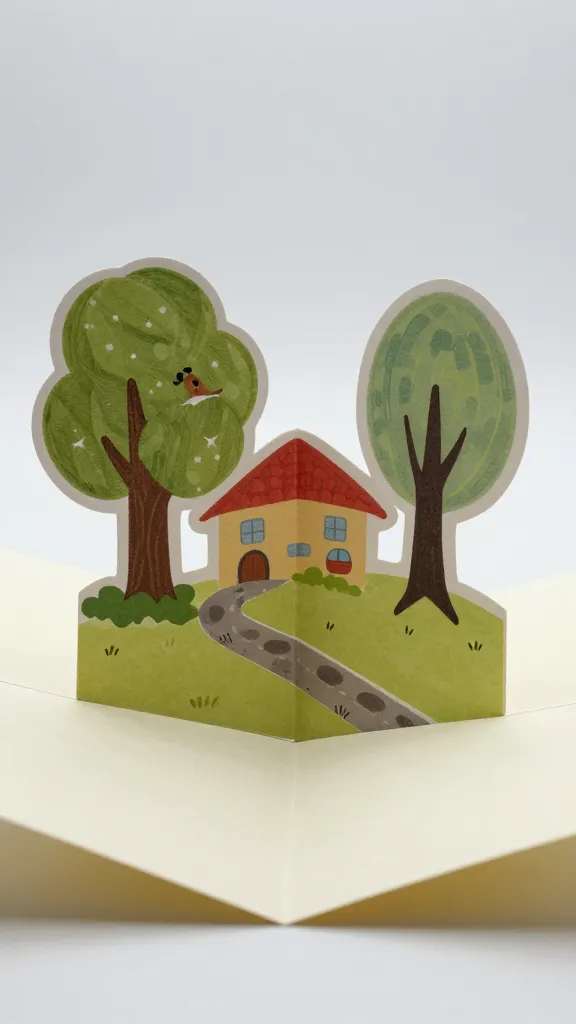
Want a card that actually wows? Paper pop-ups are your best friend. They’re simple to plan, but the surprise when the get-to-the-surface creatures jump out is priceless.
– What you’ll use: cardstock, scissors, glue, markers, and your imagination.
– Quick steps: design a small scene on a separate sheet, cut carefully, fold your card, and glue the pop-up in place.
– Pro tips:Pre-score folds for clean lines. Add a tab to your pop-up so it sits perfectly when opened.
Deeper dive: Designing a pop-up that lasts
Think sturdy, not delicate. Use a heavier paper for the card base and a slightly lighter piece for the pop-up. Let kids plan their 2-3 sentence message on the inside, then decorate the outside with a bold title.
2. Recycled-Tin Wind Chimes: Soundtrack from the Scrap Yard
This one nails the “reuse” vibe with a melody. It’s a sensory hit and a great way to explain recycling with a tiny science twist.
– What you’ll use: small tin cans, nuts or beads for weight, string, paint, buttons, and bells if you’ve got them.
– Quick steps: clean cans, punch small holes, decorate, thread strings, and add your dangling bits.
– Pro tips:Label your chimes with each kid’s name so they know who made which tune.
Subsection: Safety first, always
Watch for sharp edges. Use plastic gloves or parent supervision when handling metal. Sand down rough rims if needed.
3. Nature Collage Quilt: A Backyard MGallery
Give kids a canvas that tells a season’s story. Nature collages let them practice observation, texture, and storytelling all at once.
– What you’ll use: magazines, leaves, twigs, fabric scraps, glue sticks, scissors.
– Quick steps: collect natural items or cut out pictures, arrange on poster board, glue down, then seal with a light spray of clear sealer if available.
– Pro tips: Create a color story—cool tones for winter, warm for summer—and name each element.
Deep dive: Layering textures like a pro
Encourage students to think in layers: background, midground, foreground. Let them sketch rough placement first, then fill with textures for depth.
4. Sock Puppets: A Theatre in Your House
Sock puppets are the magic trick that makes storytelling feel real. They’re simple, goofy, and surprisingly expressive.
– What you’ll use: plain socks, fabric scraps, markers, glue, googly eyes.
– Quick steps: decorate the sock, glue on features, and let it dry before you start your show.
– Pro tips: Create a short script for a mini play to practice speaking and performance.
Subsection: Tiny scripts, big fun
Keep lines short and punchy. Have kids perform a 2-minute scene, then swap puppets and roles. It builds confidence and a giggle fit.
5. Mini Terrariums: A Glass Box of Tiny Worlds
Terrariums fuse science with craft in a lovely, low-muss way. They’re quiet, captivating, and endlessly customizable.
– What you’ll use: clear plastic or glass jars, pebbles, soil, small plants or artificial moss, decorative bits.
– Quick steps: layer rocks, soil, plant or moss, then add decorations.
– Pro tips: Label each terrarium with the plant name and care tips.
6. DIY Bookmark Bandits: Reading Meets Craft

Bookmarks turn reading time into a personal project. They’re quick, useful, and brag-worthy when laminated.
– What you’ll use: thick cardstock, markers, ribbon or yarn, stickers, laminating sheets (optional).
– Quick steps: cut to a standard bookmark size, decorate, punch a hole for ribbon, tie through.
– Pro tips: Add a quick verse or a favorite quote to personalize.
7. Optional Quick-Fire Add-on: Sticker Block Print Cards
If you’ve got a few extra minutes, block printing is a friendly intro to printmaking that kids adore.
– What you’ll use: foam stamps or carved fruits, ink or paint, paper.
– Quick steps: dab ink onto the stamp, press onto paper, lift to reveal the print.
– Pro tips: Create a small set of repeating patterns so kids can mix and match.
Conclusion
Craft time isn’t just about making something pretty. It’s about practicing patience, following steps, and celebrating small victories. These six-plus crafts for 3rd graders keep the vibe playful while nudging them toward real results. The goal: kids walk away with a sense of pride and a story to tell about how they brought a little magic into the world. So pick a project, gather a crew, and let the glue stick chaos begin—you’ll both survive the mess and love the memories.
FAQ
What age range are these crafts best for?
These activities are ideal for 3rd graders, roughly ages 8–9, but you’ll find younger kids enjoy the simpler steps with help, while older kids can tackle more detail on their own. FYI, adjust complexity based on your group’s confidence and safety needs.
Do I need special supplies, or can I improvise?
Improvise with what you have. Cardstock, old magazines, and fabric scraps turn into art gold. Recycle jars, bottle caps, and buttons for texture. The beauty of kids crafts is that the budget can stay tiny and the results big.
How long should a craft session last?
A good window is 30 to 45 minutes per project, with a 5–10 minute setup and cleanup per activity. If you’ve got multiple crafts, break them into two short sessions to keep kids energized and focused.
How can I encourage kids who feel discouraged?
Pair them with a buddy, give gentle, specific praise, and let them pick the theme that excites them. If a step trips them up, switch to a simpler version or a different project for a quick win. IMO, confidence comes from small, doable wins.
What’s the best way to manage the mess?
Lay down a washable mat, have a dedicated cleanup station, and use pre-cut shapes to cut down on glitter spills. A little prep goes a long way—plus, kids love showing off their “glue mastery.”