How to make seashell crafts wind chimes step by step
The ocean doesn’t just exist in shells; it lives in your porch, your windowsill, and yes—your wind chimes. If you’ve got a stash of seashells laying around from beach trips or that last vacation souvenir shop, you’re already halfway to a musical seaside vibe. Let’s turn those pretty little spirals into sunny, tinkling wind chimes you’ll actually want to hang on a windy day. Ready to get crafty? Let’s dive in and skip the boring parts.
Why seashell wind chimes are a mood you want in your life
Seashell wind chimes bring a tangible memory of the shore with every breeze. They’re lightweight, customizable, and wonderfully forgiving for beginners. No two shells are the same, so your chime ends up as a tiny museum exhibit you made yourself. FYI, the sound varies based on shell size, shape, and how you tie them—so you’ll probably end up with a mini symphony by accident.
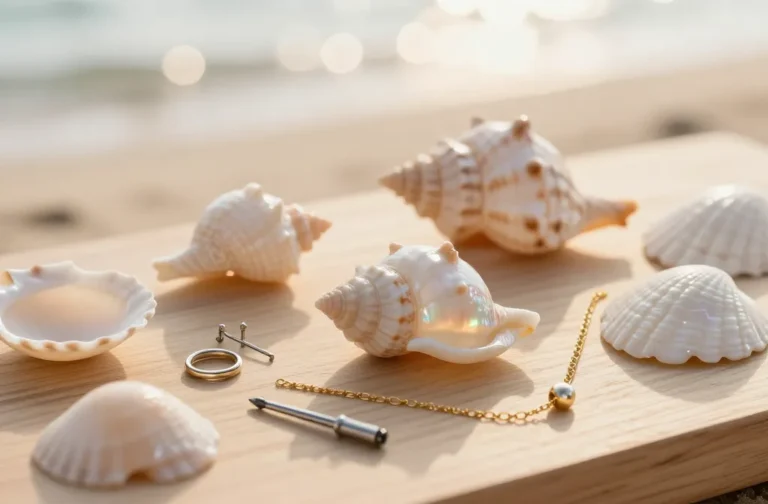
What you’ll need to gather before you start
Before you grab the first shell and a string, here’s a quick checklist so you don’t have to rerun to the craft store mid-project:
- Assorted seashells (drilled or ready to drill)
- Durable string, fishing line, or thin copper wire
- Small metal rings or jump rings
- Beads or charms for extra decoration
- Medium-weight driftwood or a sturdy branch to hang the chimes
- Drill or hand drill with a small bit (if your shells aren’t pre-drilled)
- Glue meant for shell and metal (optional, for extra security)
- Scissors or wire cutters
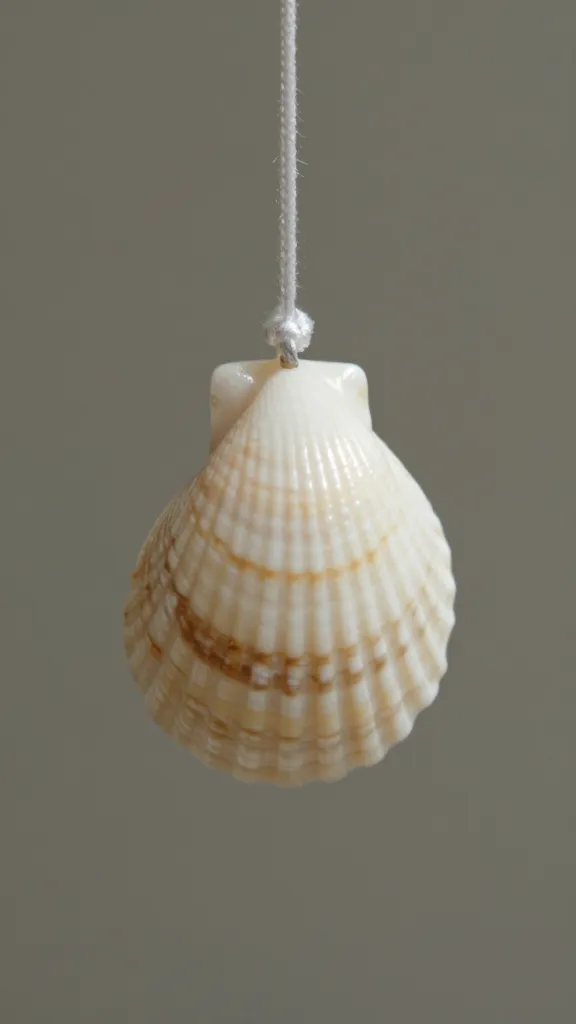
Step-by-step: drilling and prepping shells
If your shells aren’t drilled, you’ll need to add tiny holes for string. Don’t stress—this part isn’t scary, it’s basically shell yoga.
- Choose shells with natural holes or flatten the bottom to make drilling easier.
- Mark a small dot near the edge to guide your drill—keep it away from the edge where cracks tend to start.
- Use a slow, steady hand and a low drill speed. Let the bit do the work; don’t push too hard.
- Rinse and dry the shells completely. Any moisture can weaken string ties or cause corrosion over time.
Creating the frame: stringing, spacing, and balance
A tidy frame makes the chime sing rather than clatter like a bag of marbles.
Choosing your base and layout
– Pick a driftwood stick or branch roughly the length you want for your chime. A longer base gives more space for shells to swing.
– Decide how many “tubes” you want. More tubes means louder tinkling, but also more weight to manage.
Stringing etiquette: how to space shells
– Create a simple spacing rule: keep shells at least 1–2 inches apart along the string to avoid tangling.
– Alternate shell sizes to create a balanced, cascading look—and a nicer sound as wind travels through them.
– Tie an overhand knot at each shell to secure it. If you’re using metal rings, wrap the string through the ring before tying.
Balancing the wind-catching parts
– Attach a few longer shell pieces to the bottom to catch more wind. Too many long pieces can cause tangling, so test with a light breeze.
– Add a light bead at the bottom of some strings to weight them slightly and stabilize movement.
Decorative touches that don’t weigh down the melody
You want personality, not chaos. Here’s how to add style without turning your chime into a clanging contraption.
- Swap in colorful beads for pops of color—try ocean blues and sandy beiges to echo beach vibes.
- Paint a few shells with acrylics or nail polish for a pop of whimsy. Let them dry completely to avoid gluey chaos.
- Incorporate charms or tiny driftwood shapes for a layered look.
- Wrap copper wire around a few shells for a rustic metallic accent. It’s decorative and sturdy!
Finishing touches: assembly and hanging
This is the moment where your chime starts to exist in the real world, not the drafting board.
Assemble with care
– Tie each shell-string to the base, then secure with a double knot for extra security. If you’re using rings, thread the string through and knot again to prevent slipping.
– Double-check that longer strings have enough clearance to swing without hitting the base or each other.
Choosing a mounting spot
– Pick a spot with a light breeze but not directly in a downpour or under a heavy tree canopy where leaves clog the strings.
– Height matters: hang so the chime won’t brush against walls or windows as it moves.
– If you live in an apartment, a balcony or covered patio works perfectly. Just ensure it won’t rattle your neighbor’s nerves at 3 a.m.
Maintenance tips so your seashell chime lasts
A little upkeep goes a long way.
- Wipe shells with a dry cloth every so often to prevent dust build-up.
- Check knots and rings every season; re-tie if you notice any slipping.
- Protect from direct, heavy rain if you want colors to stay vibrant longer. FYI, sun can fade paint over time, so rotate spots if you want uniform aging.
- If a shell cracks, don’t panic—replace it or disguise it with a bead so your chime keeps its rhythm.
Creative variations to try next time
Once you nail the basics, the door opens to all sorts of fun twists.
- Theme sets: white shells for a minimalist look, or mixed shells for a beachy boho vibe.
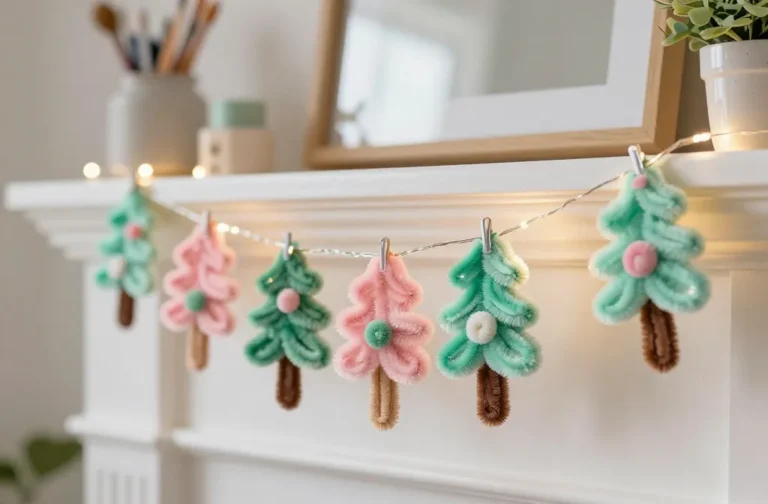
- Seasonal accents: red-and-green beads for holidays, or pastel colors for spring.
- Sound experiments: mix small shells with tiny metal chimes for a brighter tinkle.
FAQ: quick answers to common seashell chime questions
How many shells should a beginner chime have?
A good starting point is 6–12 shells per string, with 4–6 strings. It creates a nice, balanced sound without turning into a wind orchestra.
Can I use any kind of shell, even if it’s smooth or oddly shaped?
Yes, texture and shape can add character. Just ensure the hole (or drilled position) is sturdy enough to hold a knot or ring. If a shell feels fragile, skip it or reinforce with a dab of strong glue.
What’s the best string material for durability?
Nylon fishing line or synthetic beading thread works great—strong, thin, and less visible. If you prefer metal, copper wire looks stunning but can kink easily, so handle with care.
Will seashell chimes attract wildlife or cause damage to my garden?
Most chimes won’t attract wildlife aggressively, but keep an eye on birds at the start. If you notice nibbling or sneaking, relocate to a higher perch or use more robust hardware.
How long do seashell wind chimes typically last?
With proper care, they can last several years. Exposure to harsh sun and salt spray can fade colors; indoor or sheltered outdoor spots extend life.
Can I customize these for gifts?
Absolutely. Personalize with initials, favorite colors, or a memorable shell you collected together. It’s a thoughtful, handmade gift that says you were “shore” enough to make it.
Conclusion
There you have it—your blueprint to seashell wind chimes that hum with personality. It’s a light, forgiving craft that rewards curiosity and a bit of patience. You don’t need to be a craft superhero to pull this off; you just need shells, string, and the willingness to try a few new tricks. So grab your shells, anchor a branch, and let the breeze run the show. FYI, the first tinkling note you hear will feel like a mini vacation calling your name.
If you want, snap a quick photo when you’re done and tell me what vibe you ended up with. I’m curious: beachy zen, boho chic, or something totally wild?