how to make seashell jewelry pieces
Seashell jewelry is basically nature’s tiny treasure chest you can wear. You find a perfect spiral, a glinting bit of mother-of-pearl, or a curved scallop that looks like it was designed for a necklace from the ocean gods themselves. But turning that finds into wearable art? That’s the fun part. Grab a cup of coffee, and let’s dive in—sunny vibes, no snooze-fest jargon, just practical tips you can actually use.
Gathering your seaside stash (without turning into a beach cleanup hero in one day)
First things first: you don’t need a full treasure hunt to start. A handful of shells, some basic tools, and a dash of creativity will do. Think about the look you want: delicate, boho, sparkly, chunky, or minimal.
– Choose shells that are in good shape. Look for pieces with intact surfaces, no cracks, and interesting textures.
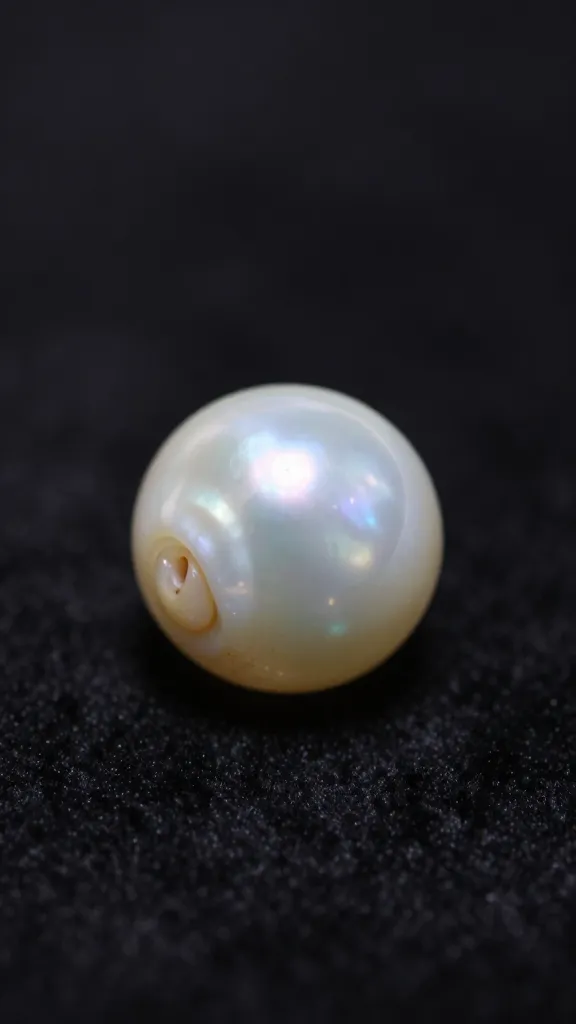
– Pick a color palette. Whites and creams read clean and classy; iridescent shells add magic; darker shells give a bold vibe.
– Safety check: rinse shells, remove any grit, and dry completely before you work with them.
Tools and materials you’ll actually use
You don’t need a full jeweler’s shop to start making seashell pieces. Here’s a lean, practical kit.
– Jewelry pliers (round-nose and chain-nose)
– Jewelry glue or epoxy (the clear stuff)
– Earring posts, earring backs, jump rings, and thin silver or gold chain
– Small drill bit or bead reamer (optional, for tiny holes)
– Fine-grit sandpaper or a Tiny File for smoothing edges
– UV resin or resin for a glossy finish (optional but gorgeous)
– Jump rings, headpins, and charms for extra flair
If you’re new to drilling shells, test on a spare shell first. Some shells crack under pressure, and you don’t want to ruin your whole batch.
Ways to attach shells: screws, beads, and brave new methods
There are several routes to attaching shells to jewelry. Pick what fits your shell size and the vibe you want.
– Drill a tiny hole near the top or through the edge if the shell is thick enough. Thread with a jump ring or a headpin, then attach to a chain or earring finding.
– Glue directly with a dab of strong epoxy. This is great for flat-backed shells or when you want a pendant with a no-drill look. Let it cure fully before wearing.
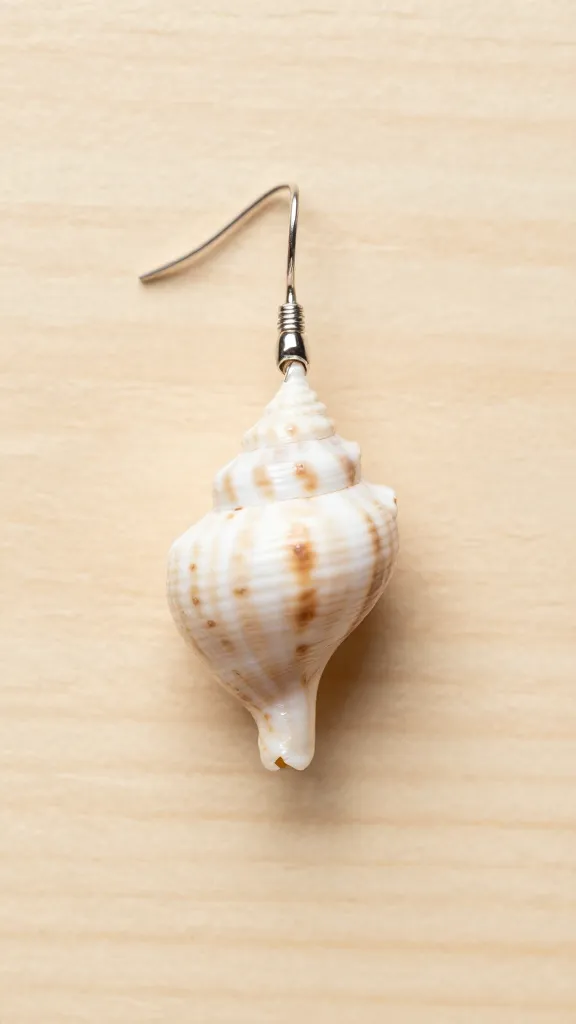
– Wire wrap it. For a more bohemian, hand-wrapped look, wrap a thin wire around the shell’s edge and form a loop to attach to earring hooks or a chain.
– Resin domes for a modern gloss. Press a shell into a tiny bezel and cover with a clear resin pour. It locks the shell in and adds a glassy finish.
Pro tip: plan the piece before you commit. Sketch where holes will go or how the shell will sit in a bezel. A little foresight saves you from ending up with a wonky pendant.
Finishing touches: smoothing, sealing, and shine
This is where your piece goes from “cute shell” to “museum-worthy” (okay, maybe not that dramatic, but you know what I mean).
– Sand gently. Start with a fine grit and work your way up to a super fine finish. Don’t rush; you don’t want to scratch the shell.
– Polish for a subtle glow. A touch of clear glaze or a light coat of varnish can bring out the shell’s color and iridescence.
– Seal the edges. If you drilled holes, seal the drilled edge to prevent chipping and to keep glue from soaking in unevenly.
– Test for durability. Light wear, a gentle tug, and a quick bend test on a few jump rings help you know if the piece will survive life on a neck or ear.
Design ideas that actually sell (or at least make you smile when you wear them)
If you’re making shells for yourself or for friends, these ideas keep things fresh without turning into a full-blown collection-building marathon.
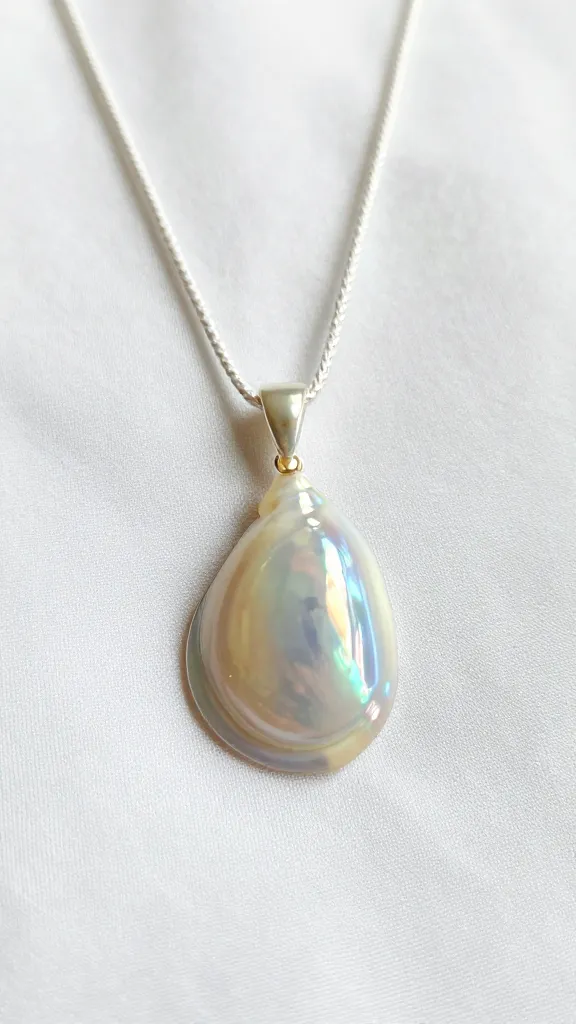
– Petite pendants: a single, well-chosen shell on a delicate chain looks chic with almost anything.
– Cluster earrings: pair two shells with small beads to create a playful, beachy vibe.
– Layered necklaces: mix different shell shapes and sizes on one chain for a curated, magazine-spread look.
– Coastal charm bracelet: small shells, beads, and charms on a thin bracelet can be a daily reminder of the sea.
– Minimal studs: tiny shells set in bezels or mounted on posts look surprisingly refined.
Debunking common shell jewelry myths
– The shell must be perfectly whole to look good. Nope. Crackly edges can add character if you lean into a rugged vibe.
– You need expensive tools. Not at all. Start with glue, a basic drill, and pliers. You’ll upgrade as you go.
– Shells aren’t durable. They can be, with proper sealing and gentle handling. Treat them like the delicate treasures they are.
Care and wearability: keeping your seashell pieces looking sunny
If you want your shells to stay luminous, treat them with respect after you finish.
– Avoid harsh chemicals. Soap and water are fine, but skip acetone or ammonia cleaners that can dull finishes.
– Store properly. Keep pieces in a soft pouch or box to prevent scratches and breaks.
– Water: you can wear shells in the rain or splash at the beach, but don’t swim daily in chlorinated water with them on. It can loosen glue and dull finishes.
– Re-touch as needed. If you notice a loose bead or a small chip, fix it sooner rather than later.
DIY project: a quick starter piece you can finish in an afternoon
Here’s a simple, friendly project to get your feet wet (pun intended).
– Materials: one flat shell, a jump ring, a thin necklace chain, small bead, glue.
– Steps:
1) If the shell has a hole, skip the drilling step. If not, carefully drill a tiny hole near the top.
2) Thread the jump ring through the hole and twist to secure.
3) Attach the jump ring to a short length of chain.
4) Add a small bead as a spacer on the chain above the shell.
5) Glue a tiny backing or bezel if you want extra security.
6) Let it cure fully before wearing.
– Voilà: your first seashell pendant. Simple, adorable, and customizable.
Conclusion
Seashell jewelry is a delightful blend of beachy charm and handmade pride. You don’t need a fancy studio or a giant budget to get started. With a little patience, the right tools, and a lot of personality, you’ll turn simple shells into pieces that feel special every time you put them on. So go on—hunt, choose, attach, and finish with a wink. FYI, the ocean loves a project that respects its treasures as much as you do.
FAQ
Do I need a kiln or specialized equipment to make seashell jewelry?
Nope. A basic toolkit with pliers, glue, a drill (optional), jump rings, and chain is enough to start. You’ll upgrade only if you want to tackle more complex pieces.
How can I tell if a shell will crack when drilled?
Test drill on a spare shell first, use a very small bit, and go slowly. If a shell feels brittle or shows fine cracks, skip the drilling route and use glue or wire wrap instead.
What finishes make shells look extra glossy?
Clear epoxy or UV resin gives a glassy, professional finish. You can also buff with a soft cloth and a tiny dab of mineral oil for a subtle sheen, but resin is the pro move.
How should I care for my shell jewelry after wearing it?
Wipe with a soft cloth, avoid harsh chemicals, and store in a soft pouch. If you notice loosening parts, fix them early to prevent loss.
Can I sell seashell jewelry online, or is this just a hobby?
You can absolutely sell it. Start with platforms like Etsy or local craft fairs. High-quality photos, honest descriptions, and a consistent style help. IMO, small batches with a recognizable look tend to win hearts faster than a huge, mixed collection.